Installing StealthMail app for Microsoft Teams
Configuring app setup policies
Before installing StealthMail, the administrators of Microsoft Teams in the company need to update setup policies to give users the permission to install third-party applications.
To do that, open Microsoft Teams admin center:
https://admin.teams.microsoft.com/policies/app-setup
Click Add to create a new policy.
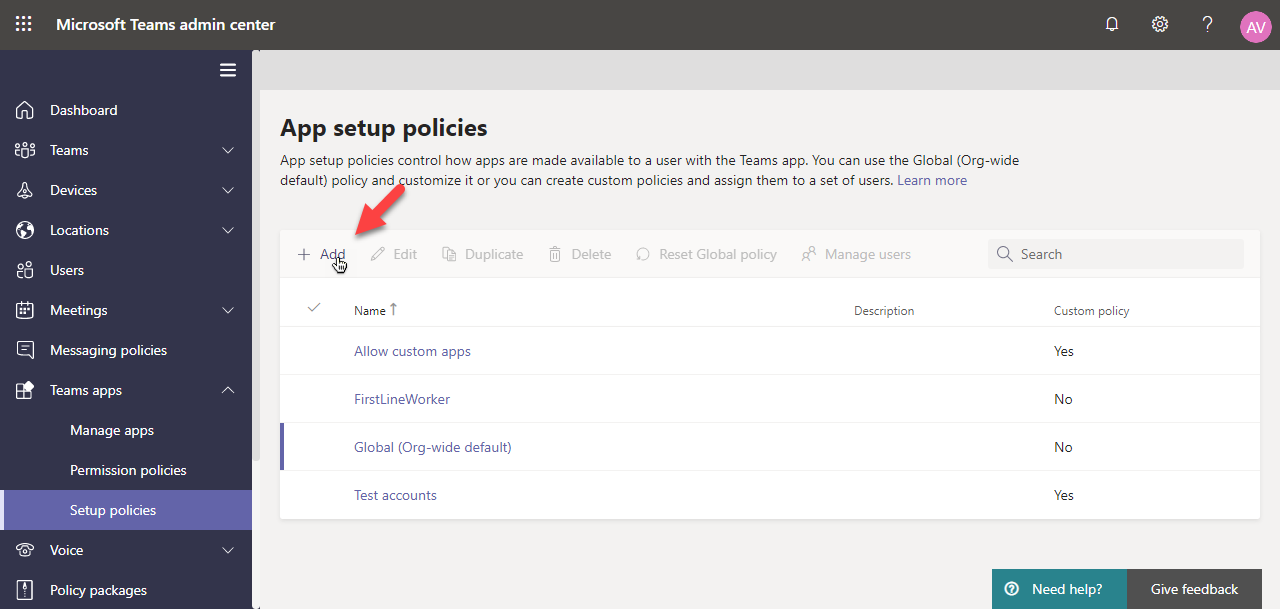
On the app policies page, set a new policy name (e.g. Allow custom apps) and enable the Upload custom apps option.
Click the Save button to save the new policy.
Installing StealthMail app for Microsoft Teams
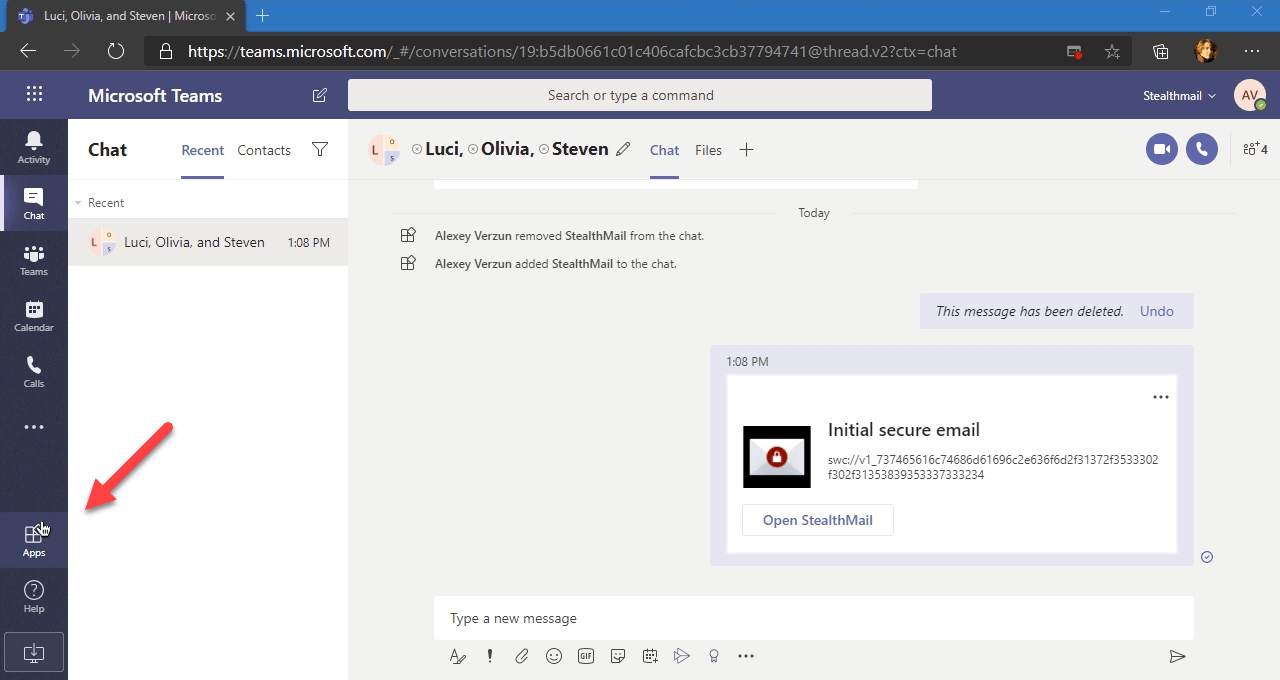
Click Apps in the sidebar to add a new application.
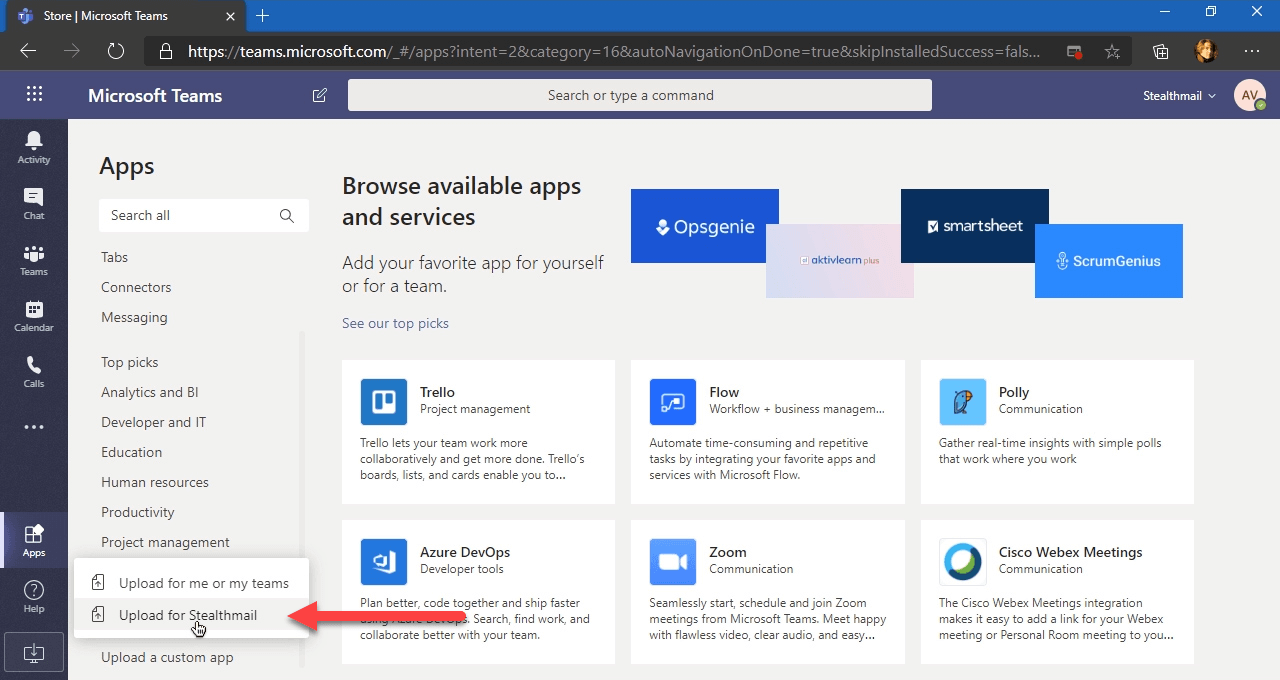
The Apps page will open.
On the left side of the page, scroll to the bottom of the list.
Click on the Upload a custom app option.
Select Upload for StealthMail in the drop down menu.
Specify the location of the StealthMail app installation archive.
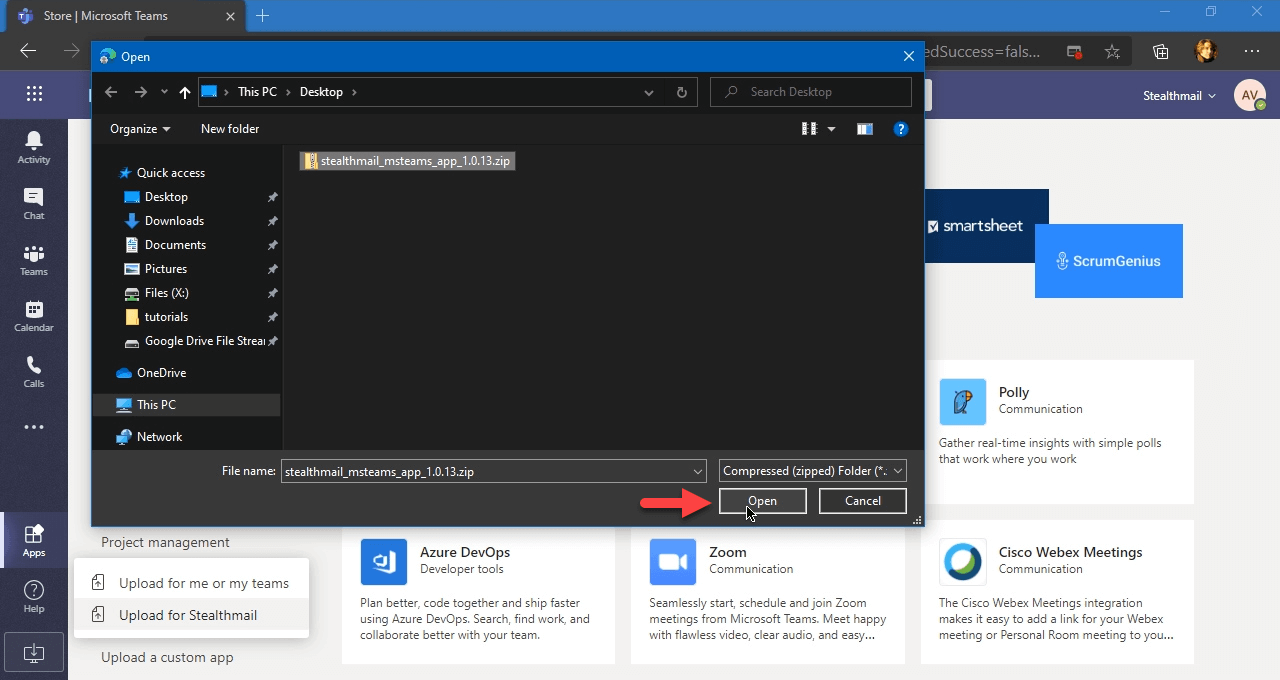
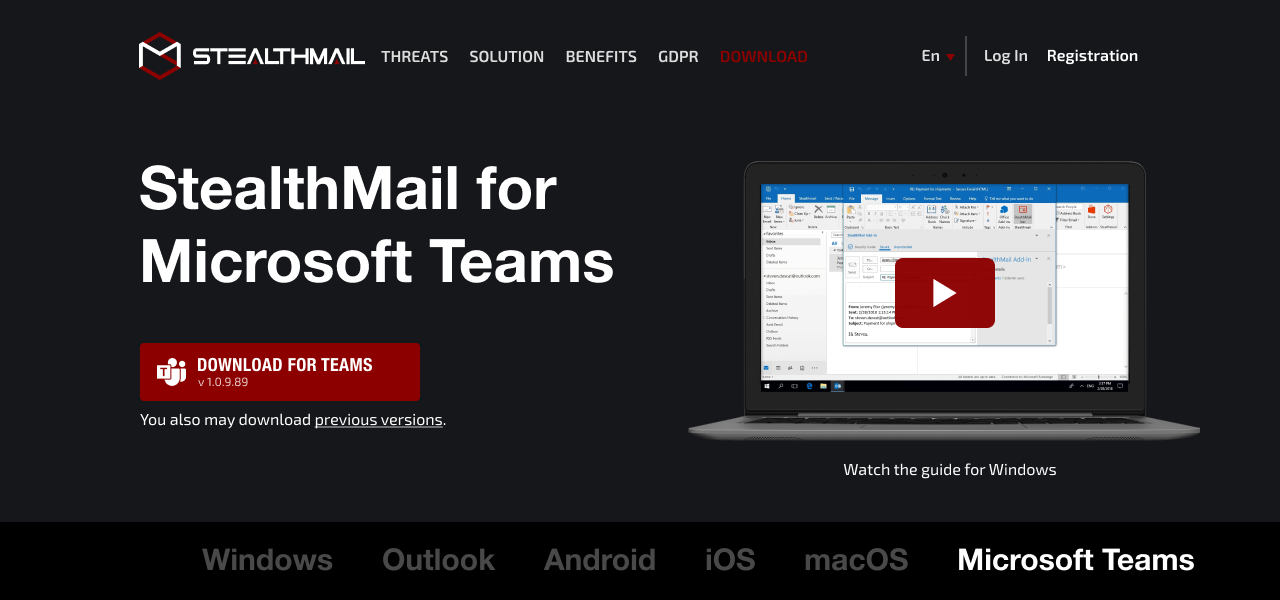
The latest version of StealthMail for Microsoft Teams is available following the link:
https://stealthmail.com/download/microsoft-teams
After the installation is complete, it is recommended to reload the web-application page.
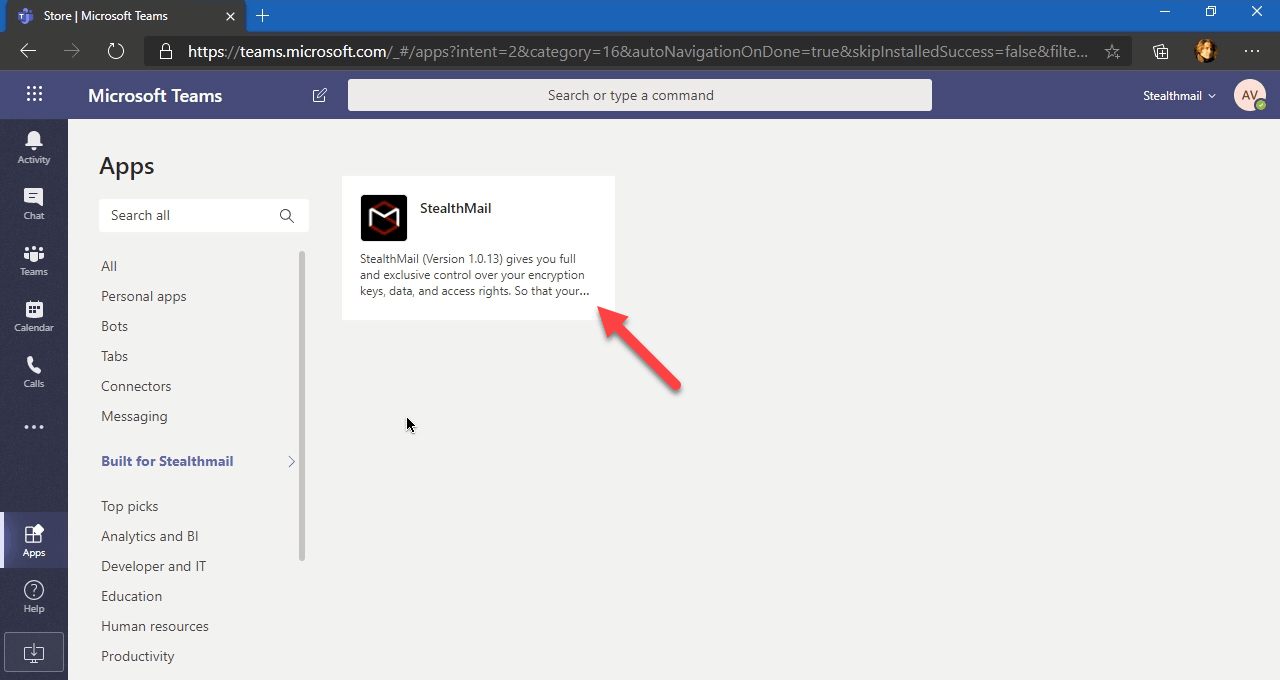
The Apps page will now have Built for StealthMail on the list.
Click the Built for StealthMail option.
The StealthMail application card will appear.
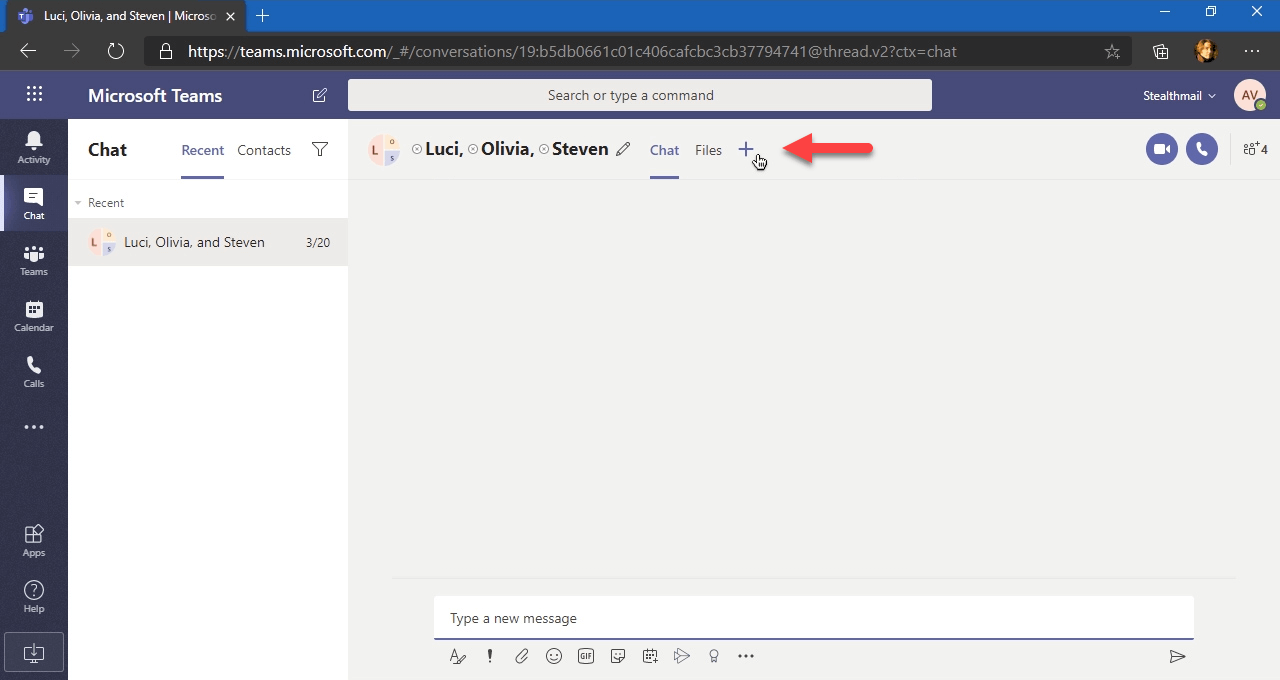
Adding StealthMail tab at the top of the chat
Open a chat.
Click [+] to add a new tab.
In the Add a tab window select StealthMail.
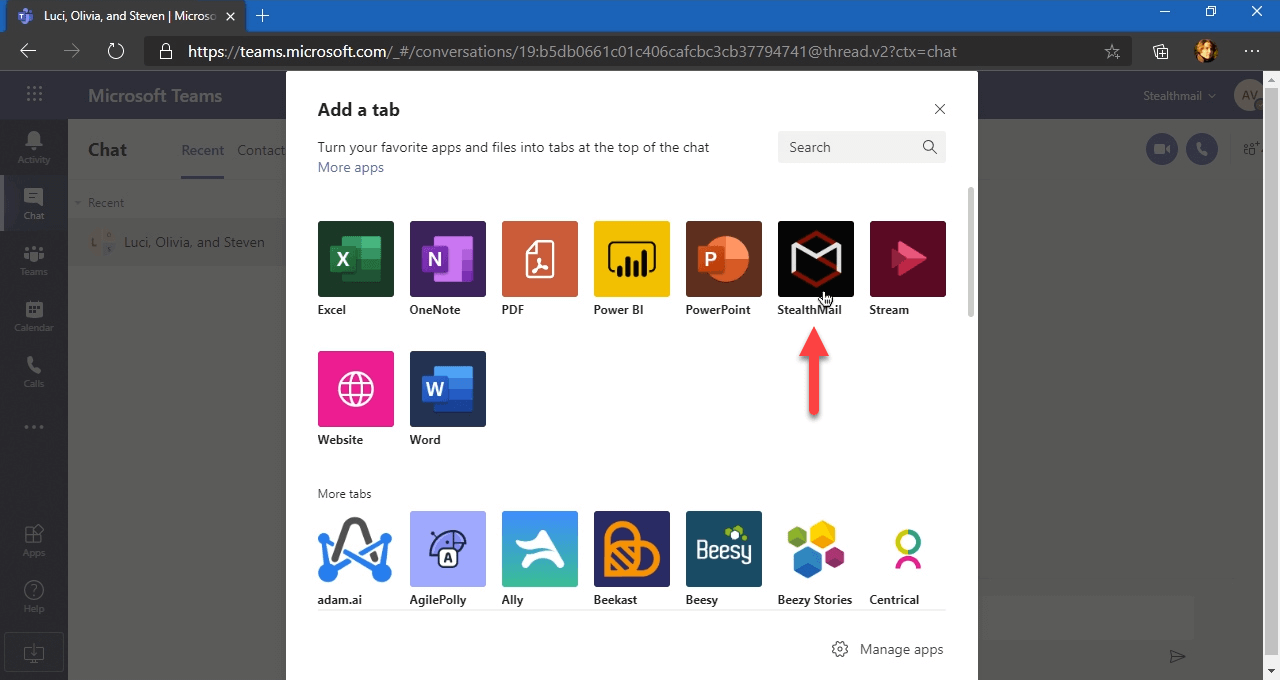
Click the Add button.
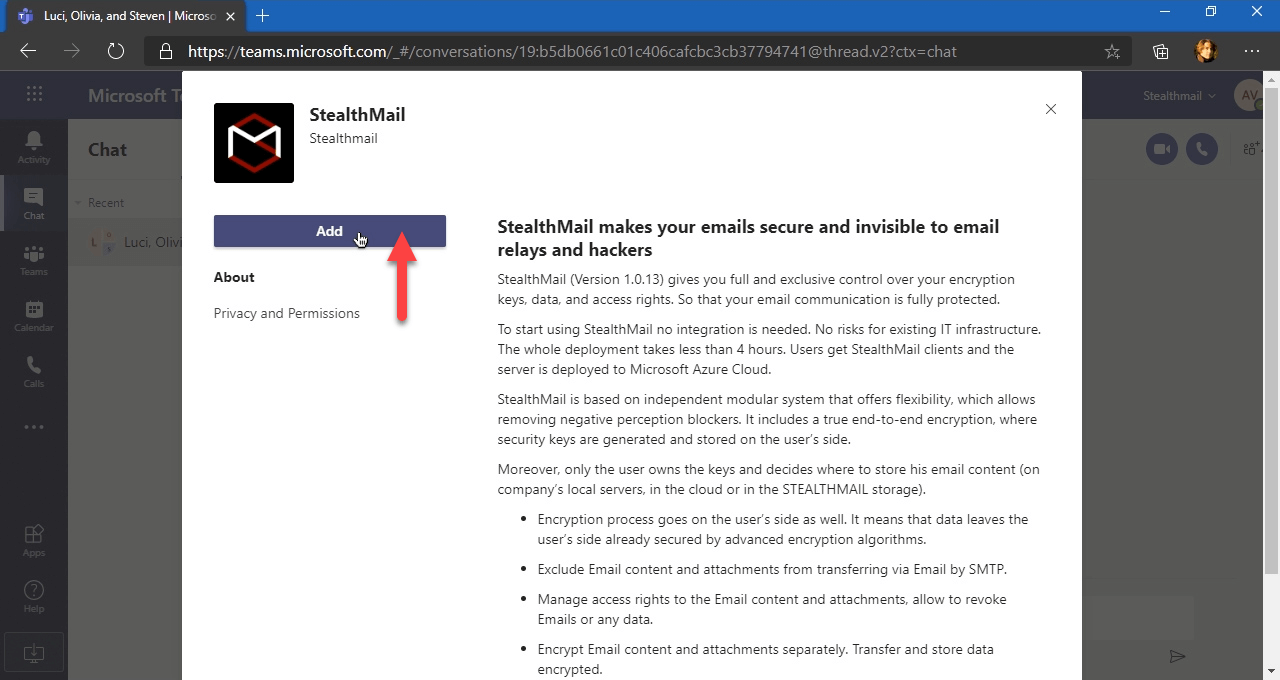
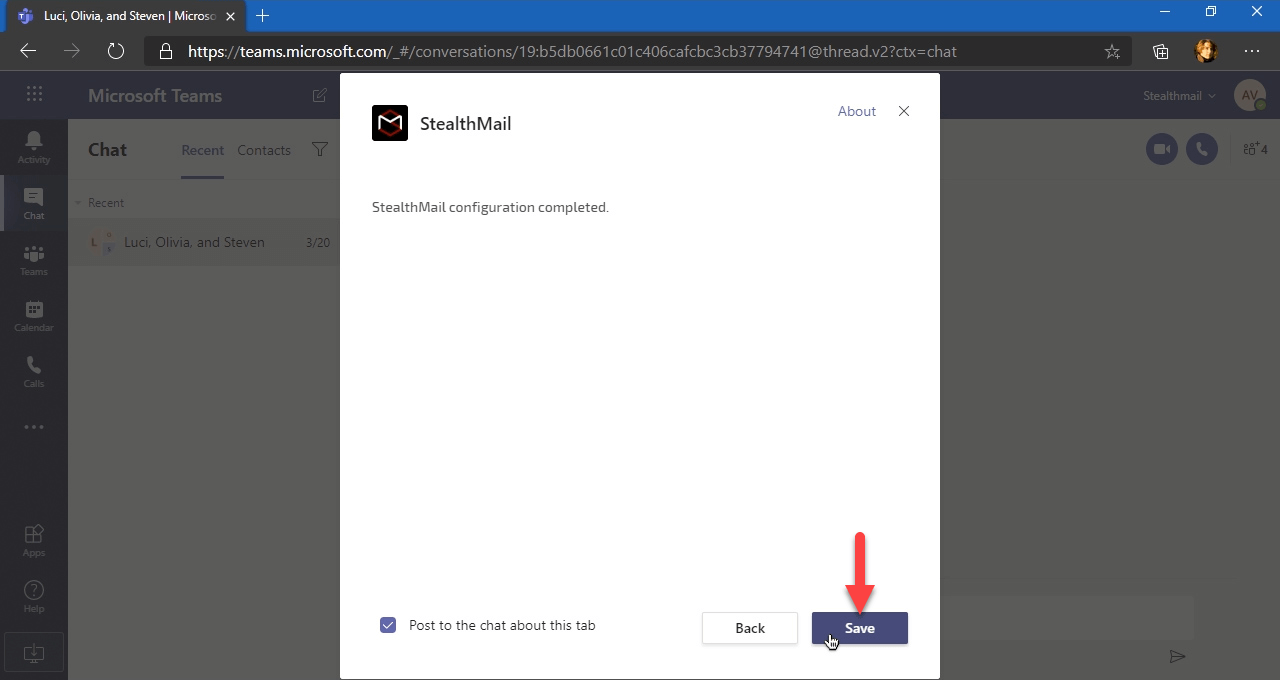
Wait for StealthMail configuration to complete.
Click the Save button.
If you are using the Microsoft Teams web application, then you will need to allow StealthMail pop-ups.
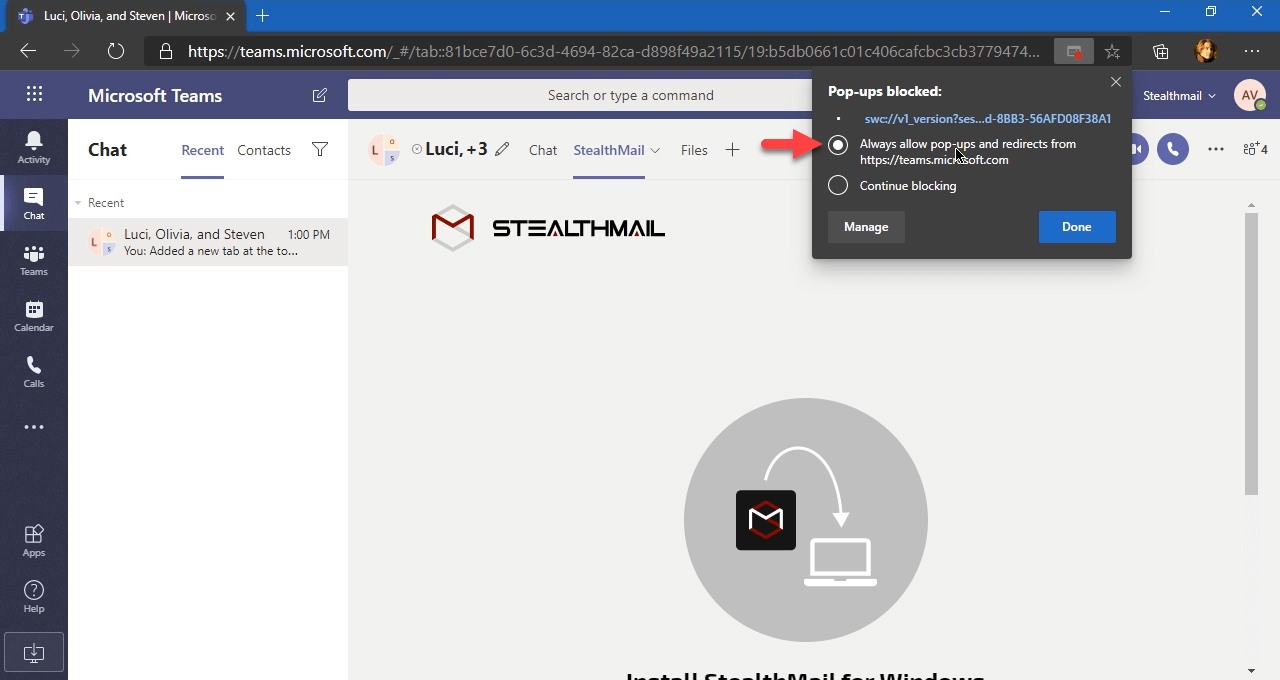
If you do not have StealthMail for Windows installed, then you will be prompted to install the latest version of the StealthMail:
https://stealthmail.com/download/windows
StealthMail for Windows will be used to create, send and read secure email messages.
After the installation is complete, you may need to reload the page. Click [...] and select the Refresh tab option.

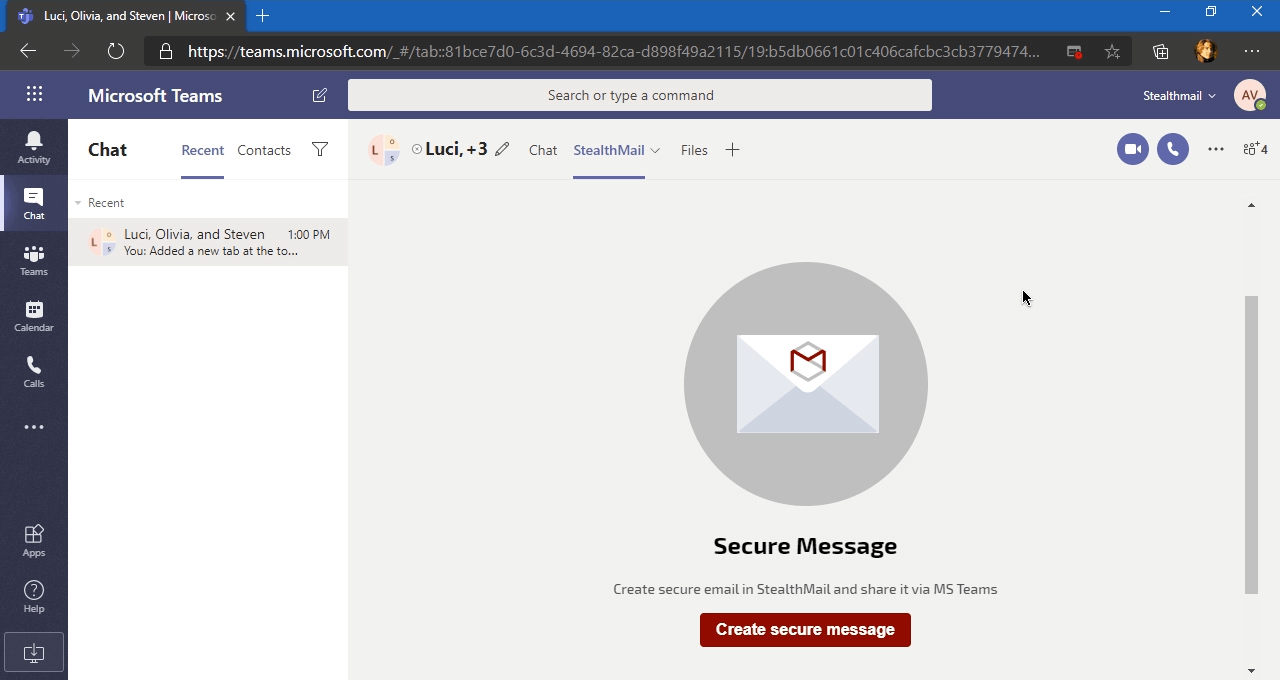
If the StealthMail for Windows application is installed, then you will see the following page.
To create and send secure email messages in this chat, you will need to select the StealthMail tab and click the Create secure message button.
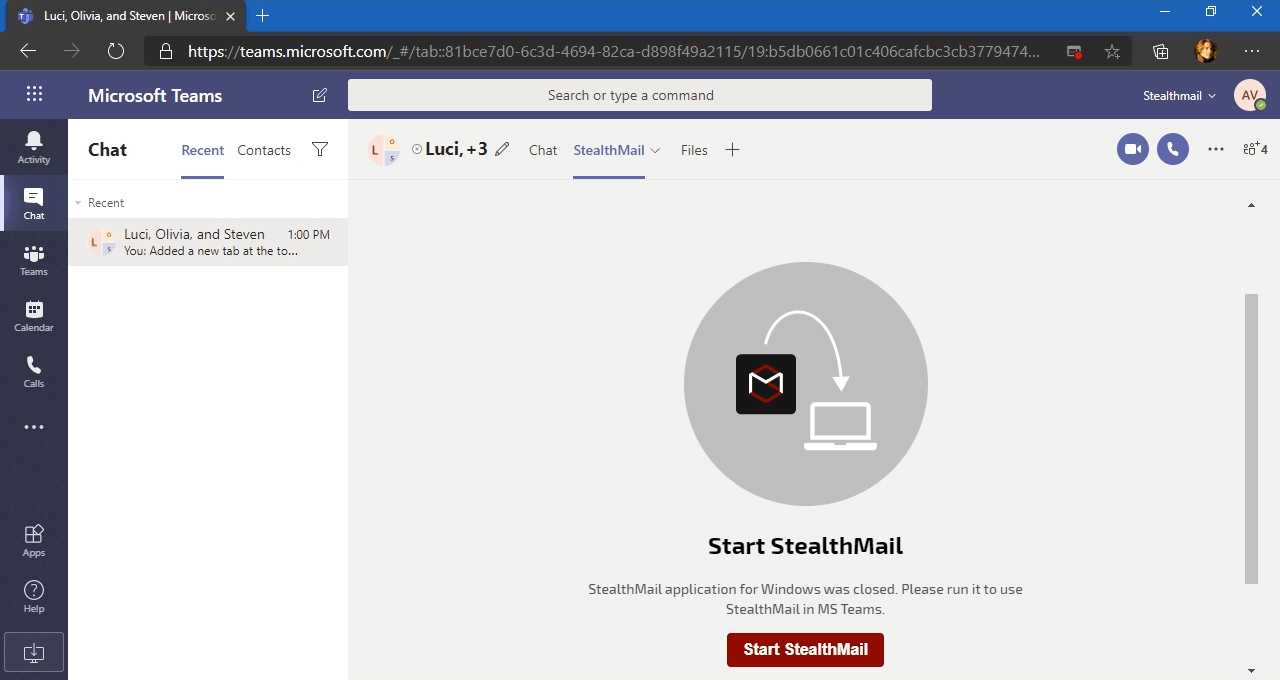
If StealthMail for Windows is not open, then you will be prompted to start the application. To do that, click the Start StealthMail button.
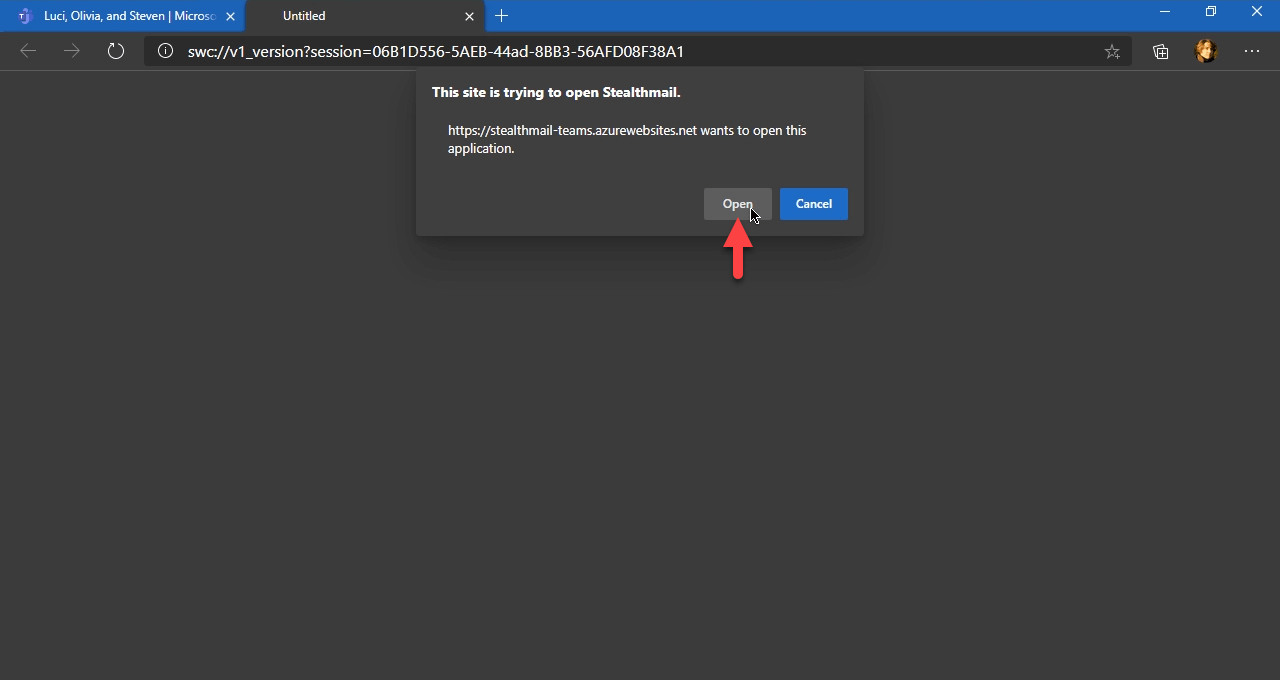
If you are using the Microsoft Teams web application, then you will need to give permission to open the StealthMail application installed on your computer.
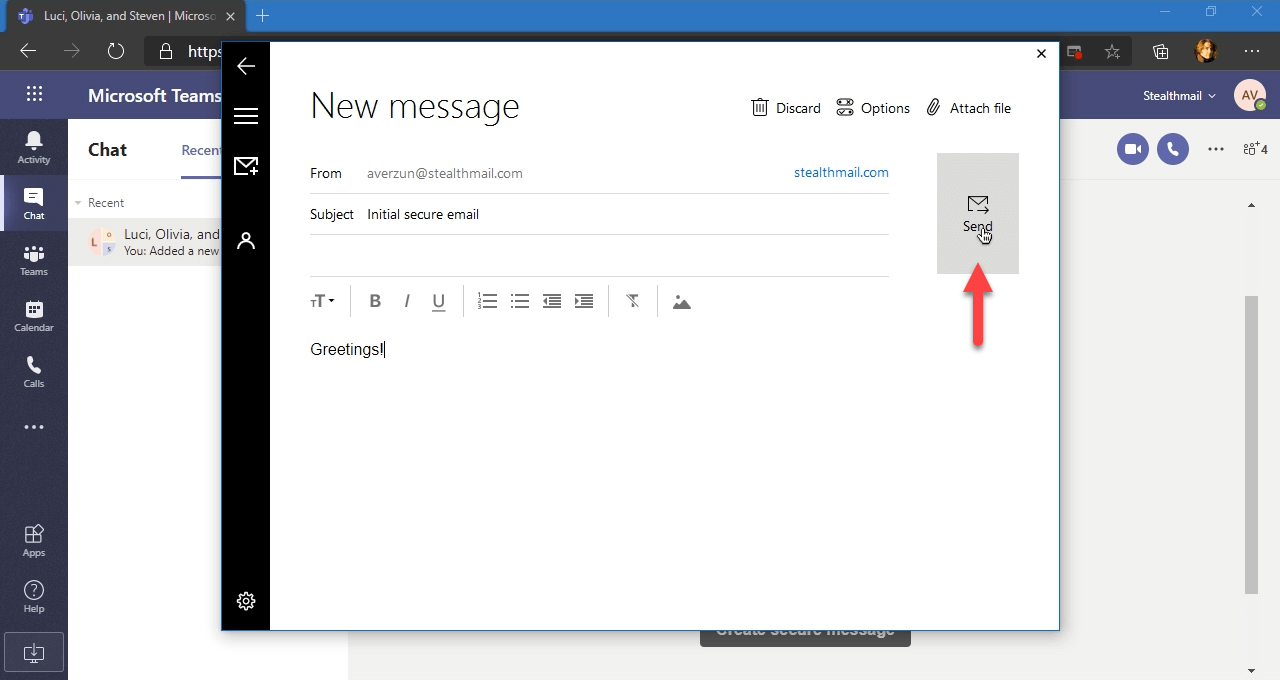
When authorized in the application and adding required accounts, you will see the New message window.
Create a new message and click Send.
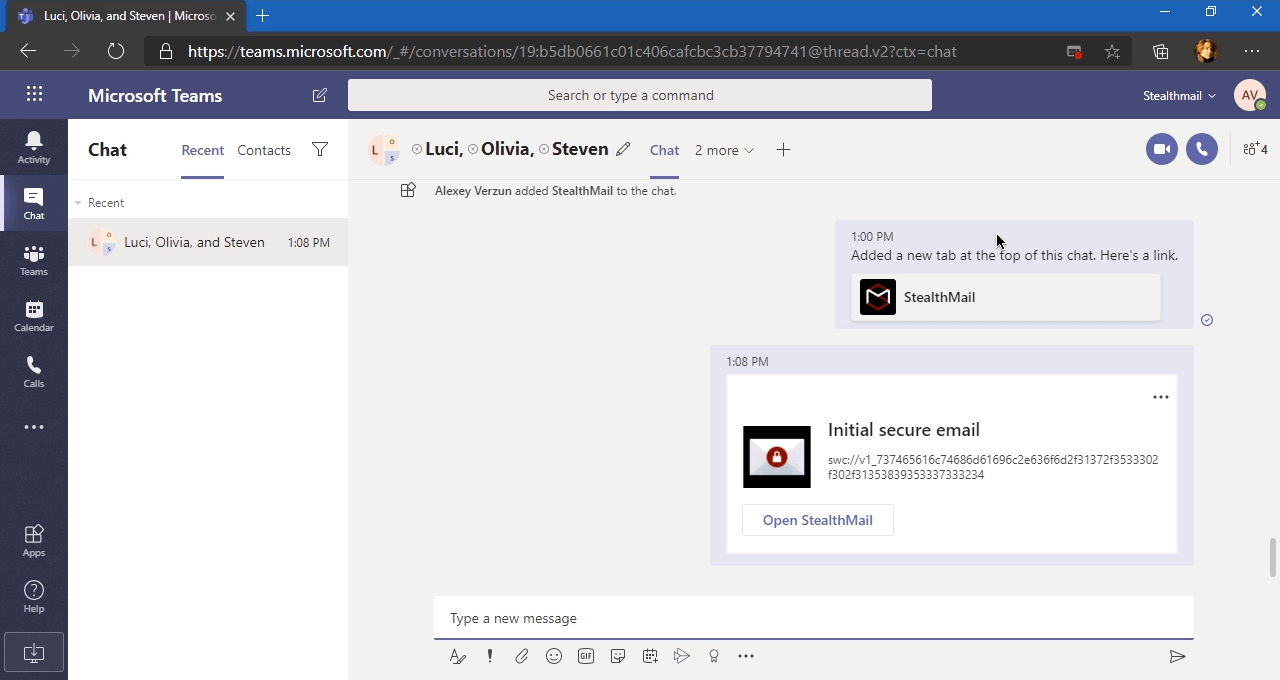
After the secure email has been sent, you will be redirected back to the initial chat. A card will be generated and sent containing a link to the secure email. The members of the chat can use the link to read the secure email in the StealthMail application.
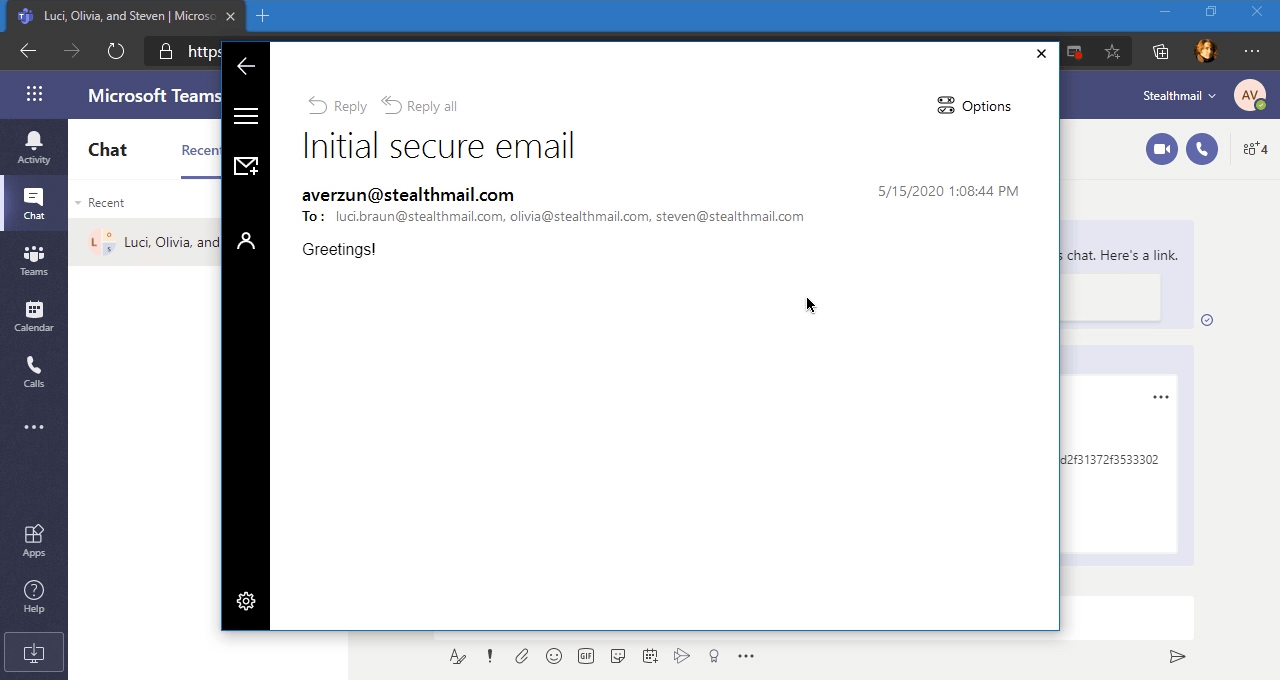
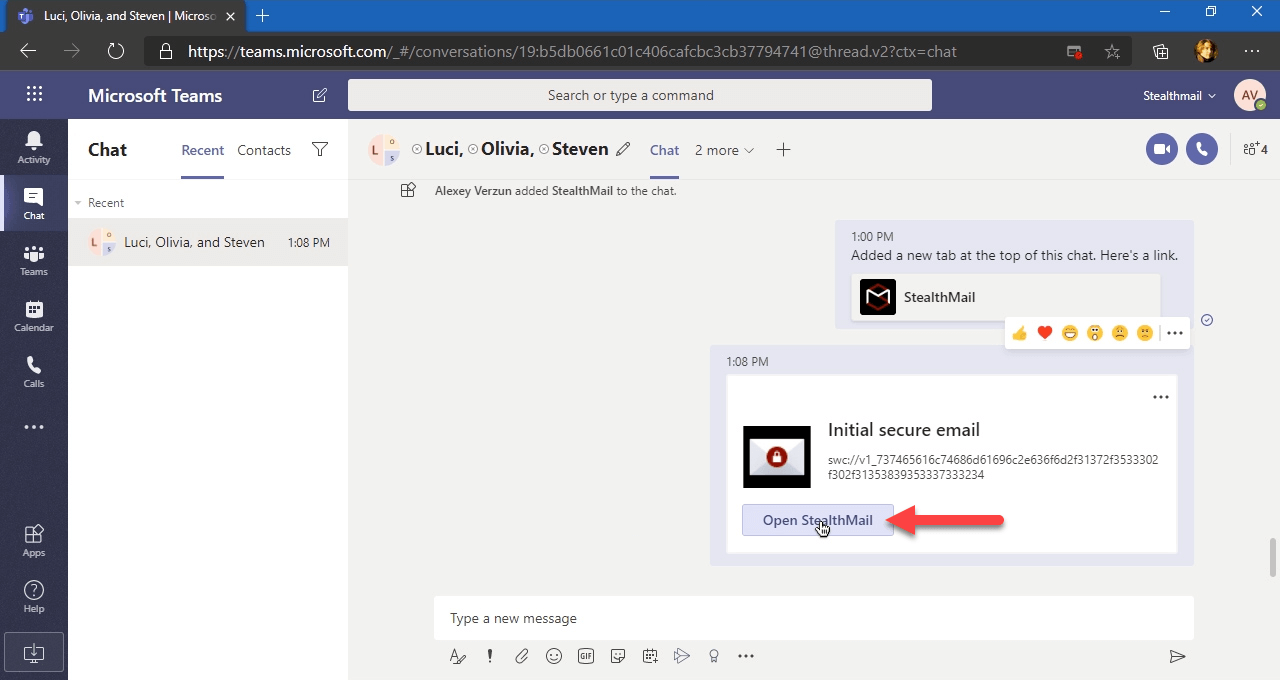
To read the secure email, click the Open StealthMail button.
Secure email preview may take a moment to open. Wait for initialization to complete.
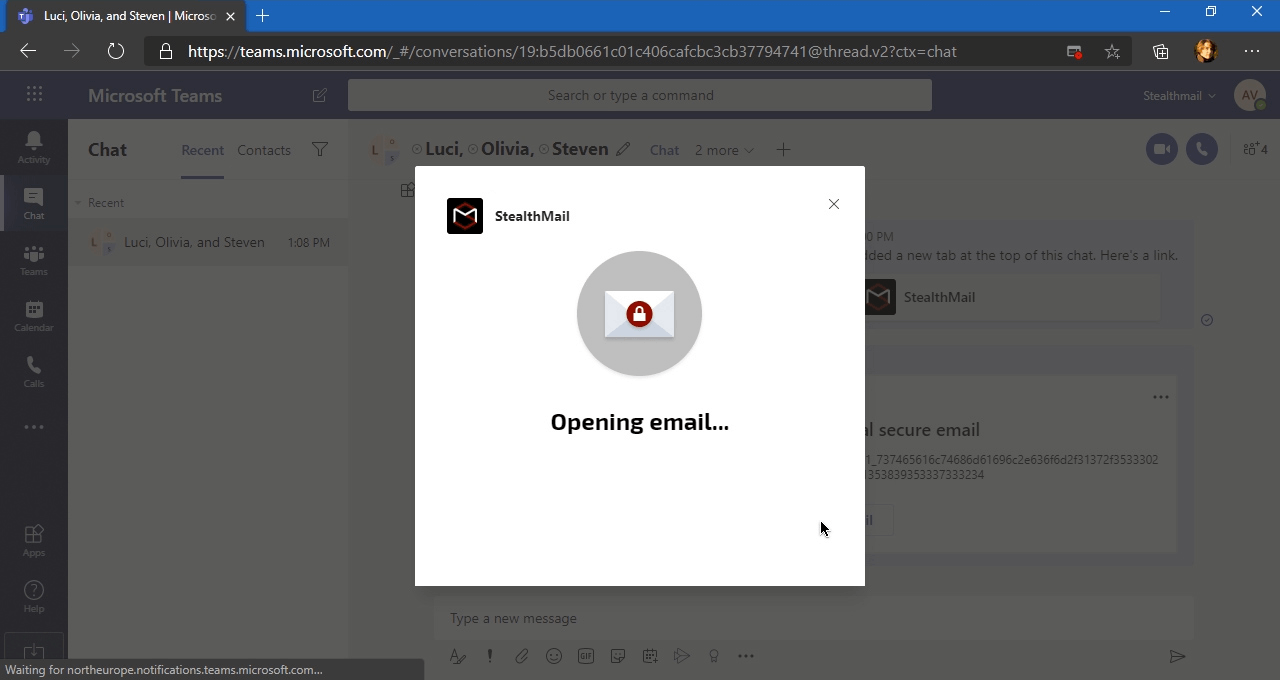
After the initialization is complete, StealthMail for Windows will start and the secure email preview window will open.